




Furniture delivery errors happen more often than most people expect, and a wrong-floor placement can quickly cascade into scheduling conflicts, damaged goods, and frustrated clients. Whether you are coordinating a single residential delivery or managing a large-scale office fit-out across multiple floors, the risk of furniture ending up in the wrong place is real and entirely preventable. This guide walks you through five practical steps to eliminate floor specification errors before, during, and after a furniture delivery.
Confirm floor details before the delivery date
The most effective way to prevent a furniture delivery wrong-floor situation is to lock in location details well before the truck arrives. Confirming floor assignments at the planning stage removes ambiguity and gives everyone in the chain a shared reference point. Do not rely on verbal agreements or email threads that may be overlooked on the day of delivery.
- Request a written floor plan or room allocation document from the client or site manager, clearly showing which items go to which floor and room.
- Cross-reference this document against the original purchase or project order to confirm every item has a designated floor assignment.
- Send a confirmation summary back to the client at least 48 hours before the delivery date and ask for a written sign-off.
- Flag any gaps or ambiguities immediately, such as items listed without a floor number, and resolve them before the loading stage.
After this step, you should have a single verified floor-allocation document that every party has agreed to in writing. If the client cannot confirm specific floor details at this stage, treat that as a red flag and delay scheduling until the information is complete. Proceeding without confirmed floor specifications is the single most common cause of misplaced furniture deliveries.
Label shipments with clear floor-specific instructions
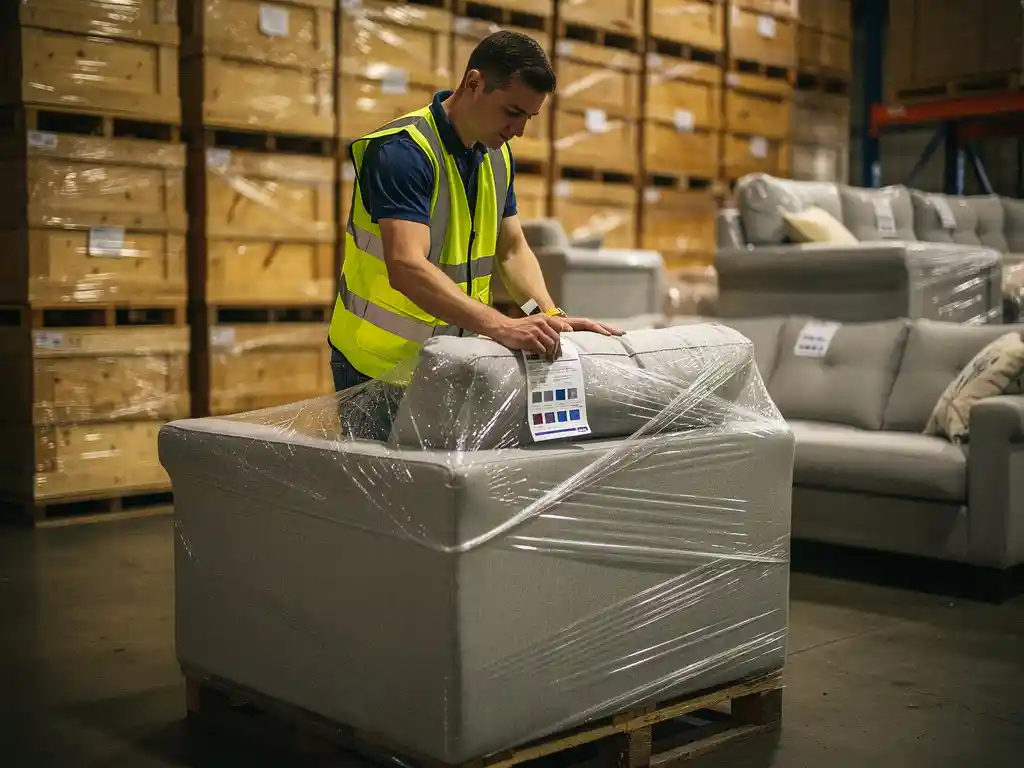
Once floor details are confirmed, translate that information directly onto the physical shipment. Clear labelling at the item level is your last line of defence against human error during unloading. A well-labelled package can be correctly placed even if verbal instructions are missed or miscommunicated on a busy site.
- Attach a label to every item or pallet that includes the destination floor number, room name or number, and the client reference.
- Use a consistent, easy-to-read format, such as large bold text or colour-coded stickers per floor, so the delivery team can identify placements at a glance.
- Place labels on at least two sides of each package so they remain visible regardless of how items are stacked or oriented in the vehicle.
- Include a brief written instruction on the label if the item requires a specific orientation or handling note relevant to the floor placement.
With labelling complete, every package in the vehicle now carries its own delivery instruction. Check a sample of labels before loading to confirm they match the verified floor-allocation document. A mismatch at this stage is far easier to correct than one discovered after the delivery team has already unloaded on the wrong floor.
Brief the delivery team on floor assignments
Labels and documents are only effective if the people carrying out the delivery understand them. A structured pre-delivery briefing ensures the team arrives on site informed, aligned, and ready to execute the floor-specific logistics delivery instructions without guesswork.
Hold a short briefing before departure, covering the full floor plan, any site-specific access rules such as lift restrictions or service entrance requirements, and the sequence in which floors should be serviced. Distribute a printed or digital copy of the floor-allocation document to each team member and walk through any items that require special attention, such as oversized furniture that may need disassembly for stairwell access.
- Review the floor-allocation document as a group and confirm everyone understands which items go where.
- Assign a lead contact per floor if the delivery spans multiple levels, so accountability is clear on site.
- Confirm the client or site manager contact details in case questions arise during unloading.
After the briefing, ask the team to repeat back the key floor assignments for the largest or most complex items. This verbal confirmation takes less than two minutes and catches misunderstandings before they become delivery errors. Teams with experience in project logistics will often build this briefing step into their standard operating procedure automatically.
Use a digital proof-of-delivery system to verify placement
A digital proof-of-delivery system closes the loop between what was planned and what was actually delivered. Rather than relying on a paper signature at the building entrance, a floor-level verification process confirms that each item reached its correct destination before the team leaves the site.
- Use a mobile proof-of-delivery application that allows the team to scan or photograph each item at its placement location, tagged with the floor and room number.
- Require the on-site client representative to sign off digitally per floor rather than once at the building entrance, so acceptance is tied to specific locations.
- Capture a timestamped photo of each delivered item in its final position as part of the delivery record.
- Upload all records to a shared platform immediately so the logistics coordinator can monitor completion in real time.
With a digital record in place, you have clear evidence of where every item was placed and who accepted it. This protects both the logistics provider and the client in the event of a dispute. It also creates a feedback loop that helps identify patterns, for example, if a particular floor or building consistently generates placement queries, that is a signal to review the briefing or labelling process for that account.
For businesses managing recurring or high-volume deliveries, integrating this step into a broader contract logistics framework can automate much of the verification workflow and reduce manual administration significantly.
Handle wrong-floor deliveries when they do occur
Even with strong processes in place, a furniture transport floor delivery error can occasionally slip through. How you respond when that happens determines whether a single mistake becomes a lasting problem. A clear escalation and correction process minimises disruption and preserves the client relationship.
As soon as a wrong-floor placement is identified, whether by the delivery team, the client, or through the proof-of-delivery review, act immediately. Do not wait for the next scheduled visit to correct it. Prompt action signals professionalism and prevents secondary issues such as blocked walkways or items being moved by unqualified personnel.
- Contact the client or site manager within the hour to acknowledge the error and confirm the correction plan.
- Arrange a return visit or same-day correction if the item has not yet been unpacked or installed, as this is the lowest-cost resolution.
- Document the error in your delivery management system, noting the cause, the item involved, and the corrective action taken.
- Review the root cause after the correction is complete, whether it was a labelling gap, a briefing oversight, or a site-level miscommunication, and update your process accordingly.
Handling errors with transparency and speed is what separates reliable logistics partners from the rest. At Jan Krediet, we have built our furniture transport operations around exactly this kind of accountability, combining experienced teams, structured planning, and responsive problem-solving to keep deliveries accurate across every floor and every project. If you want to learn more about how we approach complex delivery coordination, get in touch with our team directly.