




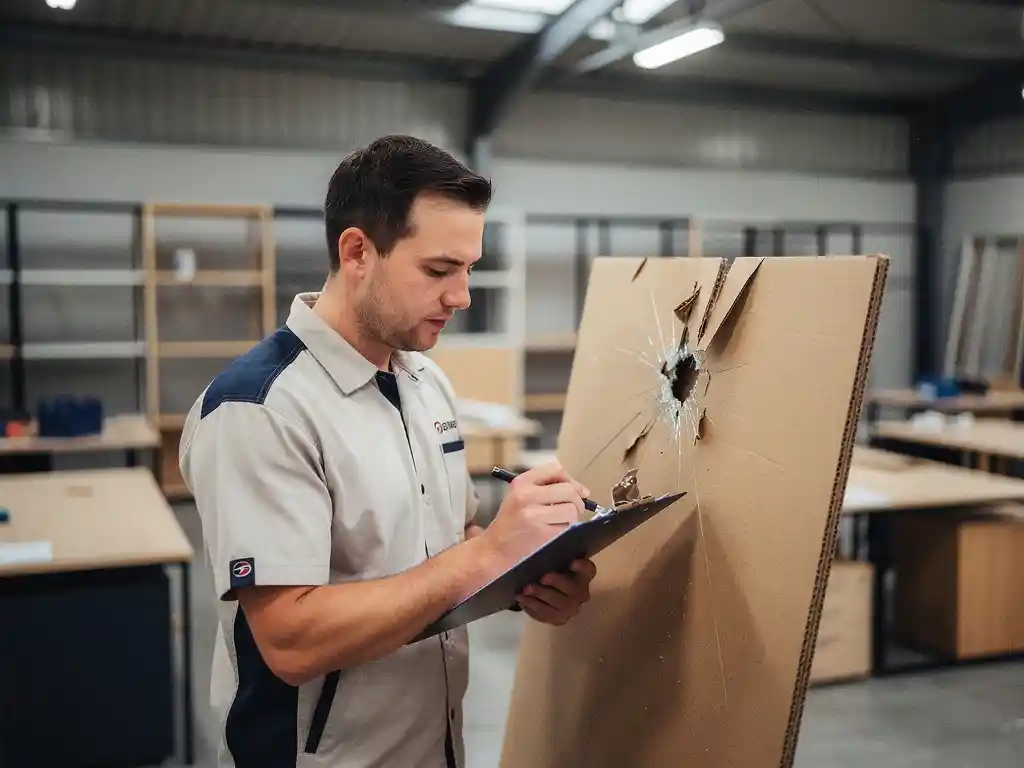
Delivery damage on a fit-out project can bring an entire installation schedule to a halt. Whether you are furnishing a new office, fitting out a hotel, or completing a school refurbishment, damaged goods arriving on site create delays, disputes, and unexpected costs. Knowing exactly how to prove delivery damage from the moment items arrive gives you the best possible chance of a successful damage claim and a fast resolution.
This guide walks you through every step of the process, from capturing evidence at the point of delivery to submitting and following up on your claim. Follow these steps in order and you will have a complete, defensible record that protects your project and your budget.
Gather evidence at the moment of delivery
The first and most critical window for proving delivery damage is the moment goods arrive on site. Evidence collected at this stage carries far more legal and commercial weight than anything gathered later. Once packaging is removed or items are moved from their original position, it becomes much harder to establish when and how the damage occurred.
- Inspect every item before signing any paperwork. Do not let time pressure from the driver or your own team rush this step.
- Photograph all packaging before opening it, paying close attention to dents, tears, punctures, or compression marks that suggest impact during transit.
- Open packaging carefully and photograph each item as it is unpacked, capturing the damage in context alongside the packaging it arrived in.
- Record a short video walkthrough of the damaged items and their packaging if multiple pieces are affected. Video provides a timestamp and shows scale more clearly than photographs alone.
- Note the exact delivery time, the vehicle registration or courier reference, and the name of the driver or delivery operative.
After completing this step, you should have a set of timestamped photographs and notes that clearly show the condition of goods at the moment of arrival. If your camera or phone automatically embeds GPS data in images, keep that metadata intact as it adds an additional layer of verification.
Record damage on the delivery documentation
With your photographic evidence secured, the next step is to create a formal written record at the point of handover. Verbal acknowledgement from a driver is not enough. The damage must appear on the official delivery documentation to be recognised in any subsequent claim.
- Write a clear description of each damaged item directly on the delivery note or consignment document before signing. Be specific: note the item name, reference number if available, and the nature of the damage.
- If the driver refuses to allow amendments to the documentation, sign the delivery note with an explicit written reservation such as “signed under protest, subject to inspection for damage”.
- Request a copy of the signed delivery note immediately. Take a photograph of it if a physical copy cannot be provided on the spot.
- If an electronic proof of delivery system is used, ask the driver how you can add a damage note before confirming receipt digitally.
Once the delivery note carries a written record of damage, you have an official document that connects the damaged goods to that specific delivery. This is one of the most important pieces of evidence in any damage claim and should be stored securely alongside your photographs.
Notify the right parties within the required timeframe
Documenting damage at delivery is only effective if you act on it quickly. Most transport contracts and insurance policies set strict timeframes for reporting damage, and missing these deadlines can invalidate an otherwise strong claim. In project logistics, where multiple parties are involved, knowing who to contact and when is essential.
- Check your transport or logistics contract for the notification period. For visible damage, this is commonly 24 to 72 hours from delivery. For concealed damage discovered after unpacking, the window is typically seven days.
- Notify your logistics provider or carrier in writing by email, referencing the delivery date, consignment number, and a brief description of the damage. Attach your photographs and a copy of the annotated delivery note.
- Inform your project manager and procurement contact so they can assess the impact on the fit-out schedule and initiate a replacement or repair order if needed.
- If the goods were insured under a separate policy, notify your insurer at the same time and follow their specific reporting procedure.
After sending notifications, save copies of all correspondence with timestamps. A clear email trail showing that you reported damage promptly and to the correct parties strengthens your position considerably when the formal claim is reviewed.
Build a complete damage file for your claim
With notifications sent, the next step is to consolidate all your evidence into a single, organised damage file. A well-structured file makes it easier for the logistics provider, insurer, or dispute resolution body to assess your claim quickly and accurately.
What to include in your damage file
- Timestamped photographs of packaging and damaged items
- Video footage if recorded at the point of delivery
- The annotated delivery note or proof of delivery document
- Copies of all written notifications and responses received
- The original purchase order or invoice for the damaged goods
- A repair or replacement quotation from a qualified supplier
- A written description of the impact on your fit-out project timeline
Quantify the loss clearly
Obtain a written quotation for repair or replacement as soon as possible. If the item cannot be repaired and a direct replacement is unavailable, document the cost of the nearest equivalent and explain the difference in writing. Where damage has caused a delay to your fit-out schedule, calculate any associated costs such as extended site access fees or rescheduled installation labour and include these as part of your claim.
A complete damage file removes ambiguity and reduces the back-and-forth that typically slows claims down. The more organised and specific your documentation, the faster a resolution can be reached.
Submit and follow up on the damage claim
With your damage file complete, you are ready to submit a formal claim. The submission process varies depending on whether you are claiming through your logistics provider, a carrier, or an insurer, but the principles remain the same across all three.
- Submit your claim in writing by email or through the official claims portal of the relevant party, attaching your complete damage file in a single organised folder or PDF where possible.
- Include a clear summary at the top of your submission: delivery date, consignment reference, description of damage, total value of the claim, and your preferred resolution (repair, replacement, or financial compensation).
- Request written confirmation that your claim has been received and note the reference number assigned to it.
- Follow up if you have not received an acknowledgement within three to five working days. Keep all follow-up communication in writing.
- If the claim is disputed or rejected, refer back to your delivery note annotation and notification emails as primary evidence. Escalate through the formal dispute resolution process outlined in your contract if necessary.
Stay proactive throughout the follow-up process. Set a reminder to check in every week until the claim is resolved. If you are working with a logistics partner who handles furniture transport or complex project deliveries regularly, they will typically have a dedicated claims or customer service contact who can help move things forward more efficiently.
Proving delivery damage on a fit-out project comes down to speed, specificity, and organisation. Capture evidence immediately, record it officially, notify the right people within the required timeframe, build a thorough file, and follow up consistently. These five steps give you the strongest possible foundation for a successful claim and help keep your project on track. If you want to reduce the risk of damage disputes from the outset, working with an experienced project logistics partner who plans deliveries in detail and coordinates every stage of the process makes a meaningful difference.