




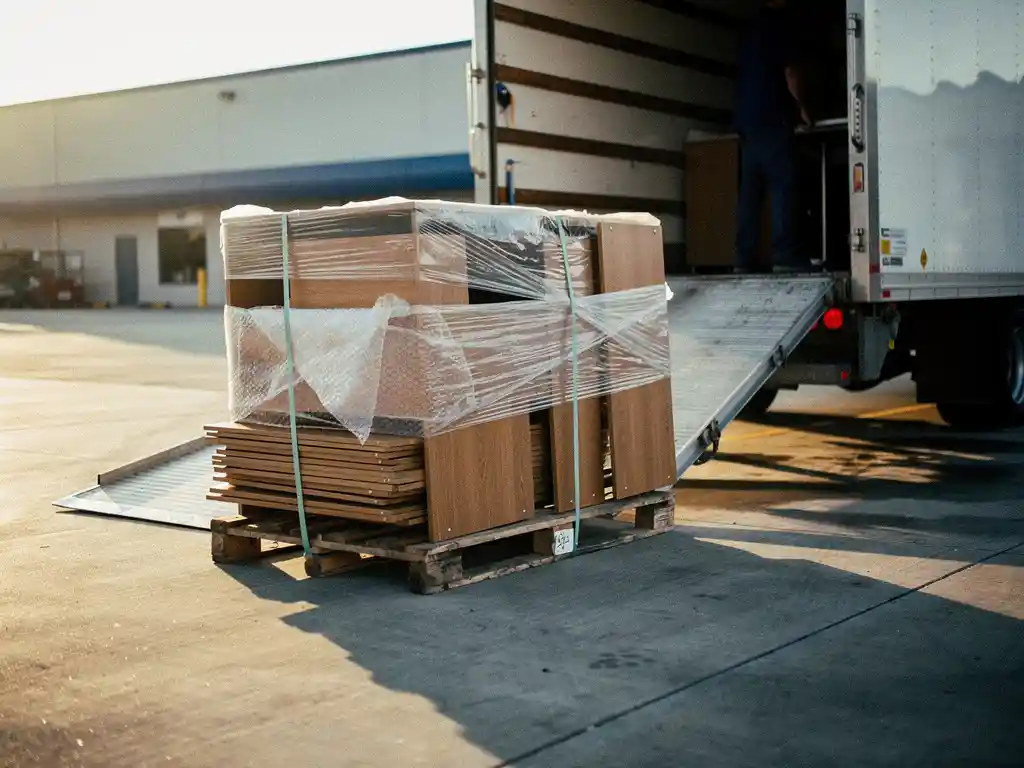
A fit-out project does not end when the last piece of furniture is installed. Once the installation crew leaves, you are left with surplus materials, packaging waste, unused items, and equipment that needs to make its way back through the supply chain. This phase, known as reverse logistics, is one of the most overlooked parts of any fit-out project, and handling it poorly can drive up costs, create compliance headaches, and leave your client site in a mess.
This guide walks you through exactly how to manage reverse logistics after a fit-out project, from pre-close audits to final documentation. Whether you are coordinating a single office installation or a multi-site rollout across several countries, the steps below give you a clear, repeatable process to follow.
Map what needs to go back before the project ends
Start the reverse logistics process before the installation is complete. Waiting until the project closes out means you lose track of items, mix up ownership, and scramble for transport capacity. The goal in this step is to produce a complete return inventory while your team is still on site and everything is visible.
- Walk the site with your project coordinator and identify every item that is not staying: surplus furniture, packaging materials, tools, display units, and any items delivered in error.
- Categorise each item by type: returnable to supplier, returnable to your own warehouse, recyclable, or destined for disposal.
- Photograph items in their current condition, especially anything with existing damage, so you have a clear record before it enters the return stream.
- Cross-reference your delivery manifests against what was actually installed to identify discrepancies early.
After this step, you should have a written return inventory with quantities, item descriptions, condition notes, and a provisional destination for each line. If anything is missing or unaccounted for, flag it now rather than discovering it weeks later when the site has been handed over.
Coordinate collection logistics with your 3PL partner
With your return inventory confirmed, the next step is to arrange collection. This is where a reliable project logistics partner becomes essential. Coordinating return transport without dedicated support leads to missed collections, vehicles arriving without the right equipment, and delays that hold up the next phase of your supply chain.
Contact your third-party logistics provider with the full return inventory as early as possible. Give them the site address, access restrictions, available loading times, and any special handling requirements such as fragile items or hazardous materials. Confirm vehicle type, crew requirements, and whether any items need to be disassembled before loading.
- Share the return inventory with your 3PL so they can plan vehicle capacity and routing accurately.
- Confirm the collection window with the site contact and ensure access is arranged in advance.
- Agree on who is responsible for packing and wrapping items before the vehicle arrives, to avoid delays on collection day.
- Request a collection confirmation and estimated arrival time so your on-site contact can be present.
Once the collection is booked, send a brief confirmation to all parties involved: the site contact, the driver or crew, and your internal project manager. Miscommunication at this stage is the most common cause of failed collections.
Sort and label returns by destination and condition
Before items are loaded onto the vehicle, take time to sort and label everything correctly. Skipping this step creates confusion at the warehouse and can result in items being sent to the wrong location, processed incorrectly, or held in limbo while someone figures out where they belong.
Group items physically on site according to their destination: supplier returns in one area, warehouse stock in another, recycling in a third. Use clear labels that include the destination address or warehouse zone, a description of the item, the quantity, and the condition code you assigned during the mapping step.
- Apply a label to every individual item or pallet, not just the outer packaging.
- Use a consistent condition code system: for example, A for undamaged, B for minor wear, C for damaged but repairable, D for write-off.
- Attach a copy of the return inventory to each consignment so the receiving team knows what to expect.
- Photograph the sorted and labelled items before loading as a final record.
When the vehicle is loaded and labelled correctly, the receiving warehouse can process returns immediately on arrival without needing to investigate what came in or where it should go. This saves significant time and reduces the risk of items being misplaced.
Process returns through the warehouse efficiently
With returns arriving at the warehouse, the focus shifts to receiving, inspection, and routing. Efficient warehouse processing depends on having the return inventory in advance so the team can prepare the right storage locations and inspection resources before the vehicle docks.
Our warehousing operations are built to handle exactly this kind of post-project inflow, including inspection, sorting, repackaging, and onward distribution. For teams managing this independently, the principles are the same: receive against the manifest, inspect against the condition codes, and route each item to its next destination without delay.
- Receive the delivery against the return inventory and note any discrepancies immediately.
- Inspect each item and confirm or update the condition code assigned on site.
- Route items to the correct location: back into stock, to a repair area, to a supplier return bay, or to a disposal holding area.
- Update your inventory management system in real time so stock levels are accurate from the moment items arrive.
After processing, you should be able to confirm exactly how many items were returned, in what condition, and where they are now. Any items that cannot be accounted for should be escalated immediately rather than left as open queries.
Handle waste, disposal, and sustainability compliance
Not everything that comes back from a fit-out site can be reused or returned to stock. Packaging waste, damaged goods beyond repair, and obsolete items all need to be disposed of in a way that meets current environmental regulations and your client’s sustainability commitments.
In 2026, sustainability compliance is no longer optional. Many clients, particularly in the corporate and public sector, require documented evidence that waste was handled responsibly. Failing to provide this can affect future contracts and damage your reputation as a project logistics provider.
- Separate waste streams clearly: cardboard, plastics, wood, metal, and general waste each have different disposal routes.
- Work with certified waste contractors who can provide documentation confirming how materials were processed.
- Check whether any items classified as waste could instead be donated, resold, or refurbished, as this reduces disposal costs and supports circular economy goals.
- Retain all waste transfer notes and certificates of disposal as part of the project record.
If your client has a specific sustainability policy or targets around waste diversion, review these before the project closes and confirm that your disposal approach aligns with their requirements. Proactively sharing a waste summary report adds genuine value and strengthens the client relationship.
Close out the reverse logistics process with documentation
The final step is to compile a complete record of everything that happened in the reverse logistics process. Good documentation protects you in the event of disputes, supports invoicing and cost recovery, and gives you the data you need to improve the process on the next project.
Bring together all the records you have created throughout the process: the original return inventory, collection confirmations, condition reports, warehouse receiving records, and waste disposal certificates. Compile these into a single post-fit-out logistics report that you can share with your client and retain internally.
- Confirm that all items on the return inventory have been accounted for and their final status recorded.
- Reconcile any discrepancies between what was expected and what was actually returned, with explanations.
- Include a summary of waste volumes and disposal methods, with supporting certificates.
- Note any process issues or delays that affected the reverse logistics phase, along with recommendations for next time.
Once the documentation is complete, share the report with your client and file it with the rest of the project records. A clean close-out gives everyone confidence that the project has been fully resolved and sets a professional standard for future work together. If you want to explore how we handle the full cycle of contract logistics for ongoing projects, we are happy to walk you through our approach.