




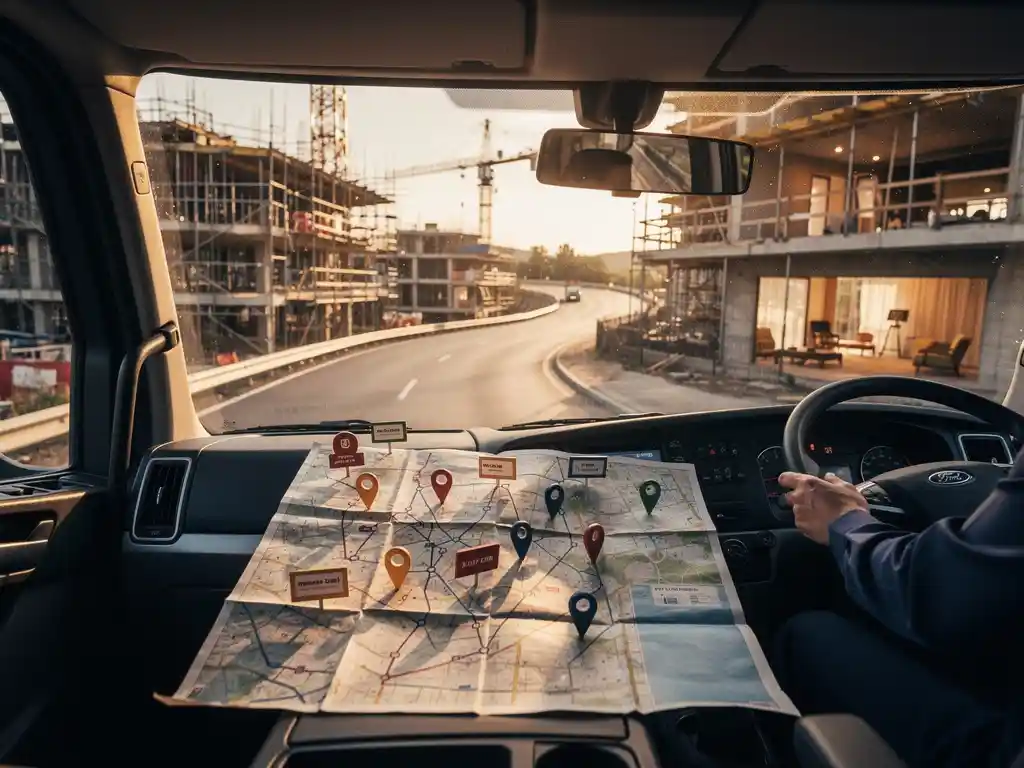
Coordinating deliveries across multiple project locations is one of the most demanding challenges in logistics. Whether you are furnishing a new office building, fitting out a hotel, or supplying a construction programme spread across several sites, the margin for error is slim. A delayed truck at one location can cascade into missed deadlines across the entire project. Route optimisation brings structure to that complexity, helping you sequence stops intelligently, reduce unnecessary mileage, and keep every site on schedule.
This guide walks you through the full process, from gathering location data to managing live disruptions on the day of delivery. Follow these steps and you will have a repeatable framework for planning efficient, reliable deliveries to multiple project locations.
Map your project locations and delivery constraints
Before any route planning begins, you need a complete and accurate picture of every delivery point. Incomplete data at this stage is the most common reason routes fail in practice, so invest time here before moving forward.
- List every project location with its full address, including postcode and any site-specific access instructions such as loading bay numbers or gate codes.
- Record the delivery window for each location, noting hard deadlines separately from preferred time slots.
- Document physical constraints at each site: maximum vehicle length, weight restrictions, floor access limitations, and whether a tail lift or specialist equipment is required.
- Note any regulatory constraints such as low-emission zones, permit requirements, or restricted delivery hours in city centres.
- Confirm the volume and weight of goods destined for each location so you can match loads to vehicle capacity accurately.
Once you have compiled this data, you should be able to look at your list and immediately identify which locations carry the tightest constraints. Those sites will anchor the rest of your planning. If any information is missing at this point, chase it now rather than discovering the gap on delivery day.
Group and sequence stops by geography and priority
With your location data mapped, the next step is to organise stops into logical clusters before feeding anything into software. Manual clustering at this stage dramatically improves the quality of the output you will get from any optimisation tool.
Start by grouping locations geographically. Stops that sit within the same district or along the same corridor should be served by the same vehicle run wherever possible. Within each cluster, sequence stops by priority: locations with hard delivery windows or time-sensitive installations go first, followed by flexible stops that can absorb minor delays.
- Plot all locations on a map, either digitally or on paper, to visualise natural clusters.
- Assign each stop a priority tier: critical (fixed time window), standard (preferred window with flexibility), and flexible (open slot).
- Draft a rough sequence within each cluster, starting with the most constrained stop and working outward.
- Check that your draft sequence does not create unnecessary backtracking between stops.
After this step, you should have a set of grouped clusters with a provisional stop order inside each one. This structured input will make your route optimisation software significantly more effective in the next step. For complex, large-scale projects, our project logistics solutions include dedicated planning support that handles this clustering process across dozens of simultaneous locations.
Feed constraints into route optimisation software
Route optimisation software processes your constraints and generates sequenced routes that a purely manual approach cannot match, especially once you are dealing with more than five or six stops per vehicle. The quality of your output depends entirely on the quality of your input, which is why the previous two steps matter so much.
- Import your location list into your chosen platform, ensuring addresses are geocoded correctly. Verify any locations in industrial estates or new developments where mapping data can be unreliable.
- Enter time windows for each stop, distinguishing between hard windows (the vehicle must arrive within this slot) and soft windows (preferred but flexible).
- Input vehicle parameters: load capacity, maximum driving hours, vehicle dimensions, and any restrictions such as no-entry zones.
- Add service time for each stop, which is the estimated time the driver will spend unloading and completing the delivery. Underestimating service time is a frequent cause of schedule slippage.
- Run the optimisation and review the proposed routes before accepting them. Check that the software has respected all hard constraints and has not produced routes that look geographically illogical.
After running the optimisation, you should have a set of proposed routes with estimated arrival times at each stop. Compare these against your priority tiers from the previous step. If a critical stop has been placed late in a sequence, override it manually and re-run. Most platforms allow you to lock specific stops in position before optimising the remainder of the route around them.
Validate routes against real-world conditions
Optimised routes are built on data, but the real world introduces variables that no algorithm fully accounts for. Validation is the step where you pressure-test the plan before committing vehicles and drivers to it.
- Check live and historical traffic data for each route, paying particular attention to peak congestion periods that overlap with your delivery windows.
- Verify road conditions and any planned roadworks or closures along the proposed routes using official traffic authority sources.
- Cross-reference vehicle dimensions against any low bridges, weight-restricted roads, or narrow access points flagged in your location data.
- Confirm that the total driving time per route complies with driver hours regulations, including mandatory rest breaks.
- Build contingency time into routes where a delay at one stop would otherwise cause a cascade of missed windows downstream.
A validated route is one you are confident a driver can execute without improvising. If validation reveals that a route is too tight to absorb any disruption, adjust the sequence or redistribute stops between vehicles before moving to the next step. Catching these issues at the planning stage is far less costly than managing them live.
Communicate the plan to drivers and project site contacts
Even a perfectly optimised route fails if the people executing it do not have the right information. Clear, timely communication to both drivers and receiving contacts at each project location is essential to delivery success.
- Brief drivers on their full route before departure, including stop sequence, estimated arrival times, and any site-specific access instructions for each location.
- Share digital route instructions directly to in-cab navigation systems or driver apps where possible, rather than relying on printed sheets.
- Notify each project site contact of the expected arrival window for their delivery, giving them enough lead time to prepare receiving staff, clear access routes, or arrange lift access.
- Confirm the name and contact number of the site contact at each location with the driver so they can reach the right person if they arrive and find the site unprepared.
- Establish a single point of contact on the logistics side who can coordinate between drivers and site contacts if issues arise during the day.
After briefing, both drivers and site contacts should be able to answer the question: what am I expecting, and when? If either party is uncertain, clarify before the vehicles depart. Miscommunication at handover points is one of the most avoidable causes of project delivery delays.
Monitor live progress and handle disruptions
Live monitoring transforms your plan from a static document into an active tool you can respond to. Once vehicles are on the road, your role shifts from planning to coordination.
- Use GPS tracking to monitor vehicle positions against planned routes in real time, identifying deviations or unexpected delays as they happen.
- Compare actual arrival times at completed stops against planned windows and update your estimated times for remaining stops accordingly.
- If a delay at one stop threatens the window at a downstream location, contact that site contact proactively rather than waiting for the driver to arrive late without warning.
- For significant disruptions such as a vehicle breakdown or road closure, re-run the affected route through your optimisation tool with updated constraints rather than replanning manually under pressure.
- Log all deviations, delays, and their causes as the day progresses so you have an accurate record for post-project review.
Effective disruption handling is what separates good route planning from great project logistics execution. The goal is not to prevent every disruption, which is impossible, but to detect problems early and respond before they affect project deadlines. After deliveries are complete, review your log of deviations against the original plan. The patterns you find there, whether recurring traffic bottlenecks, underestimated service times, or access issues at specific site types, are the inputs that make your next project plan more accurate from the outset.
If you are managing large-scale or international project deliveries and want to explore how a specialist logistics partner can support your planning and execution, get in touch with our team to discuss your requirements.